This is a pilot feature according to Algolia’s Terms of Service (“Beta Services”). Functionality may change before general availability.
<script> tag to your website.
You don’t have to write frontend code, or keep libraries up to date.
Algolia manages this for you.
Compared to InstantSearch, Algolia Experiences is:
- Managed: Algolia hosts the UI and ships updates. You don’t pin versions or upgrade libraries.
- Configurable, not coded: You build the experience in the dashboard instead of writing frontend code.
- Opinionated by default: A production-ready design ships out of the box; you customize it through theming controls instead of CSS.
Before you begin
You need an Algolia application with at least one that contains records.Create your experience in the dashboard
Create a new experience
In the Algolia dashboard, open the Experiences section and click Create a new experience.
Review the default autocomplete block
By default, the editor adds an autocomplete block to an element with the ID 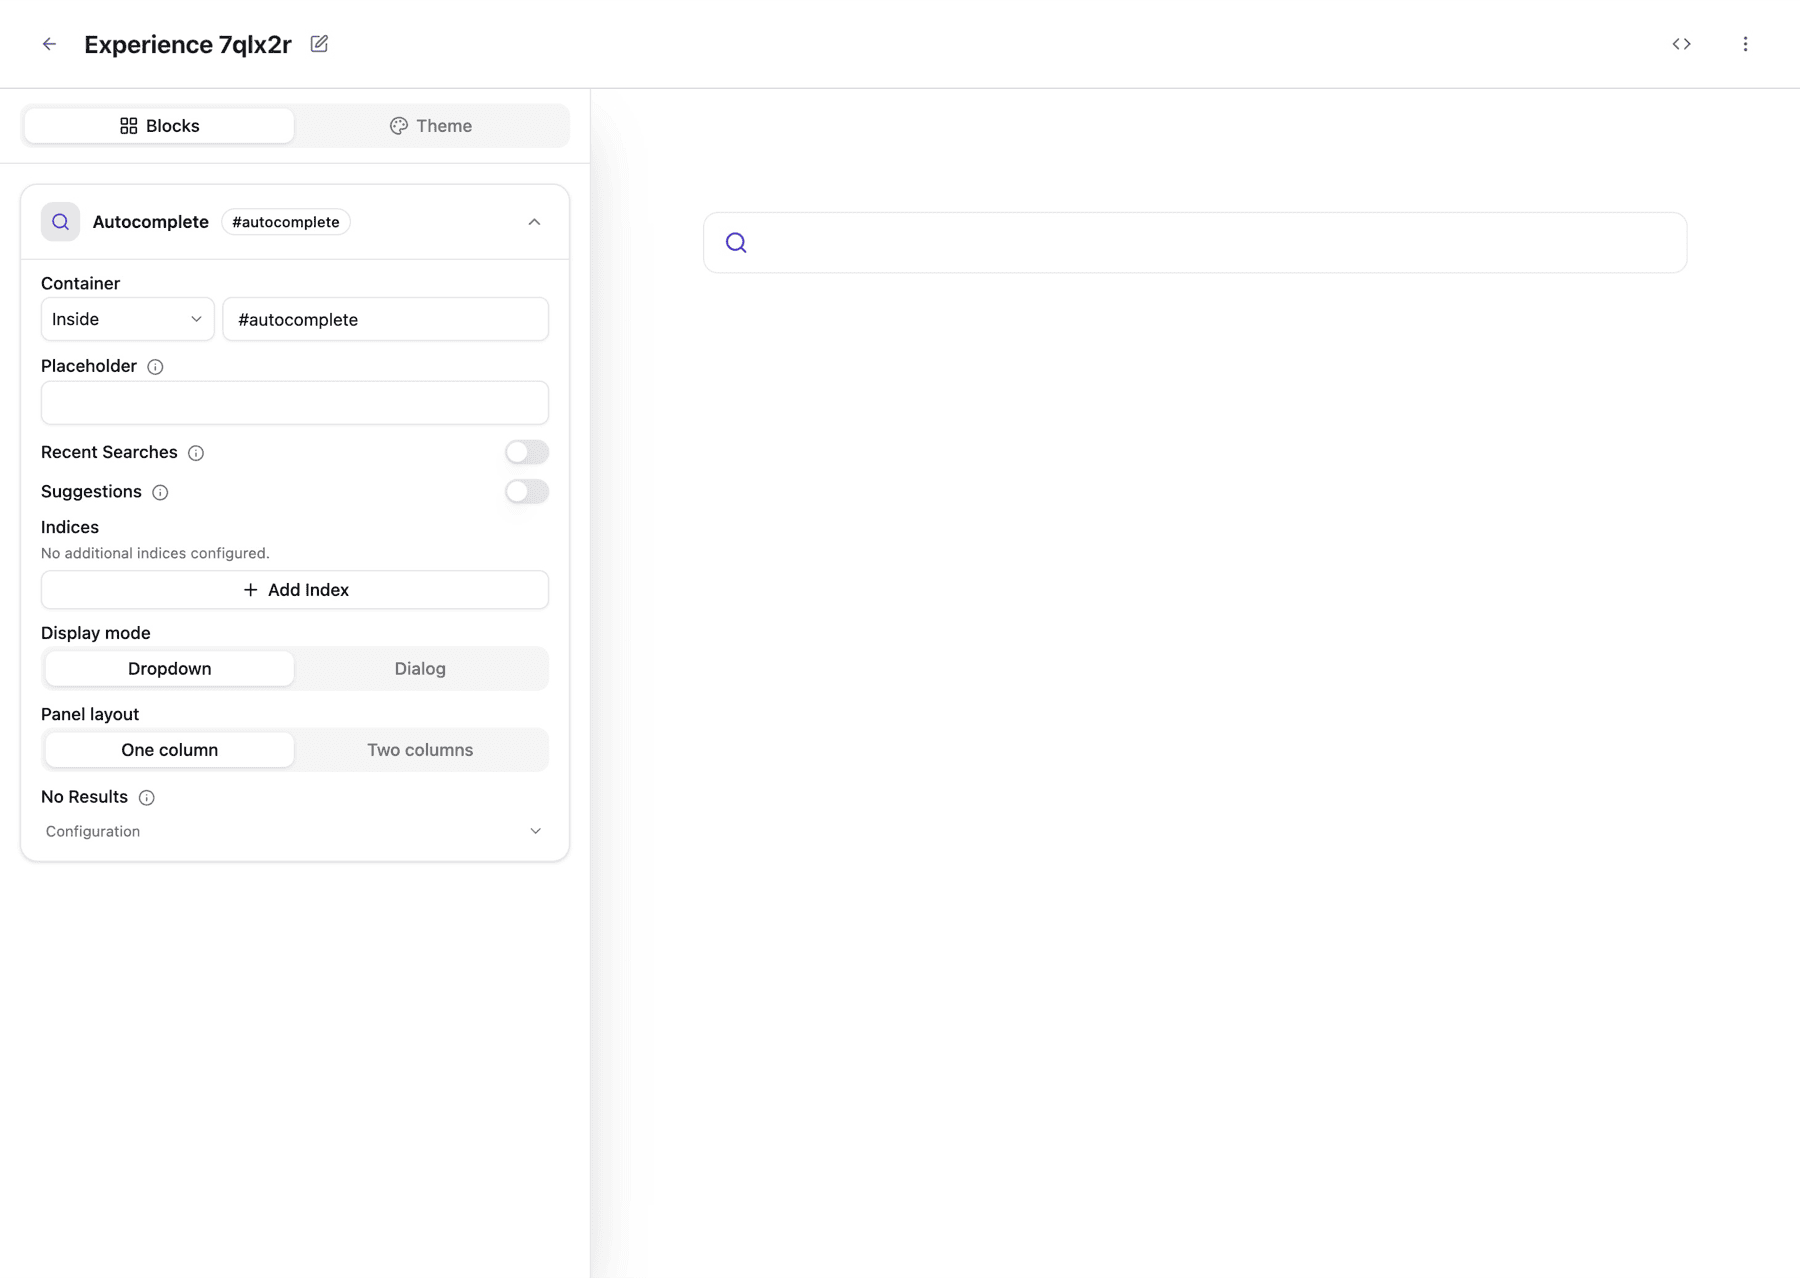
autocomplete. The container option defines where the autocomplete input renders on your page. It must be a CSS selector that points to an existing HTML element.To add the autocomplete to a different HTML element, update the container option to match your element.Make sure the element exists in your page before the script runs.Optional: enable Query Suggestions
Connect a Query Suggestions index and enable recent searches.
Select a layout
Choose between a dropdown menu or a dialog, and one or two columns.
- Dropdown: As people type, results appear in a panel anchored right below the search input. Use this when search is one feature among many on the page, like a product listing with a filter-style search box or an embedded search on a marketing page.
- Dialog: Clicking the search input opens a focused window on top of your page, with the rest of the page dimmed in the background. Use this when search is the primary reason people visit the page, like documentation search or full-site search.
Embed the experience on your website
When you first save your experience, an integration dialog opens automatically. You can reopen it at any time from the Integration help button () at the top right of the editor. The dialog offers two options: Production and Staging (optional). Use the production snippet to embed your experience on your live site.If your site is a React single-page app, follow Use in React instead.
A plain
<script> tag only runs once and doesn’t re-initialize after client-side route changes.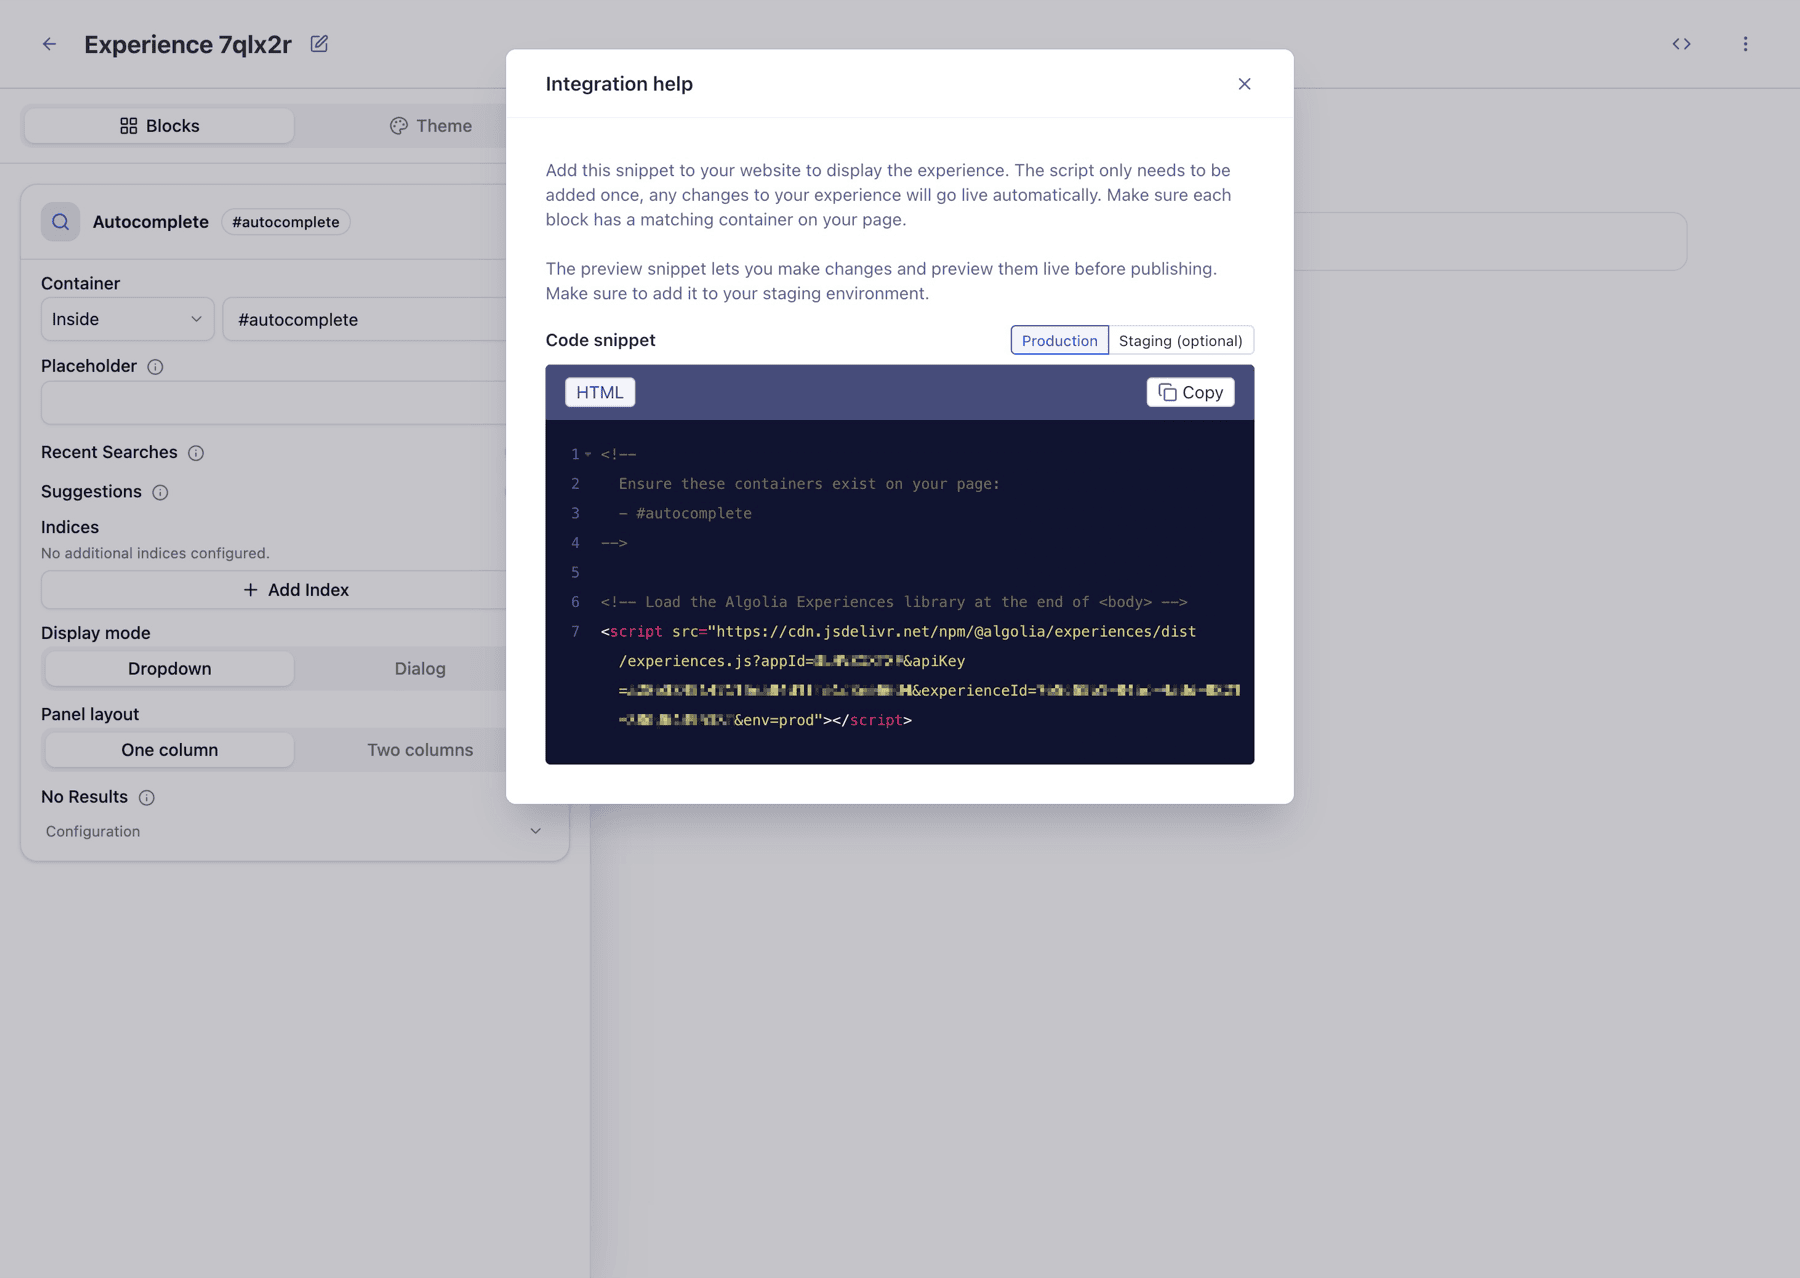
- In the Integration help dialog, select Production and copy the snippet.
- Paste the snippet into your page, before the closing
</body>tag. - Make sure the container element listed in the snippet’s comment block (for example,
#autocomplete) exists on your page.
Next steps
Your experience is now live. From here, you can:- Preview changes against your staging environment before they reach your users.
- Use Algolia Experiences in a React app if your site is a single-page app.
- Check the troubleshooting guide if your experience doesn’t behave as expected, or if your site uses a content security policy.