

Before you begin
You’ll need an Algolia account. If you don’t have one yet, create one from the CLI while you sign in.Install the Algolia CLI
You can install the CLI with your favorite package manager, or download binaries from the Releases page in the GitHub repository. The CLI runs on macOS, Linux, and Windows, on both AMD64 and ARM64 platforms.- npm
- macOS
- Linux
- Windows
If you have Node.js installed,
you can run the CLI with Or install it globally with npm:
npx, which doesn’t require installation:Sign in
Authenticate the CLI with your Algolia account. This opens your browser so you can sign in or create a new account:algolia auth login --no-browser.
The CLI prints an authorization URL and waits for you to complete the sign-in process.
To check your authentication status, run algolia auth status.
Select an application
Set the application for your commands:algolia application select creates a local profile and an API key for the application if needed,
so you don’t have to pass --application-id or --api-key with every command.
Index and search your first records
With an application selected, import some records and search them:Explore other commands
Typealgolia to list the available commands.
Add --help to any command to get more information about it and its options.
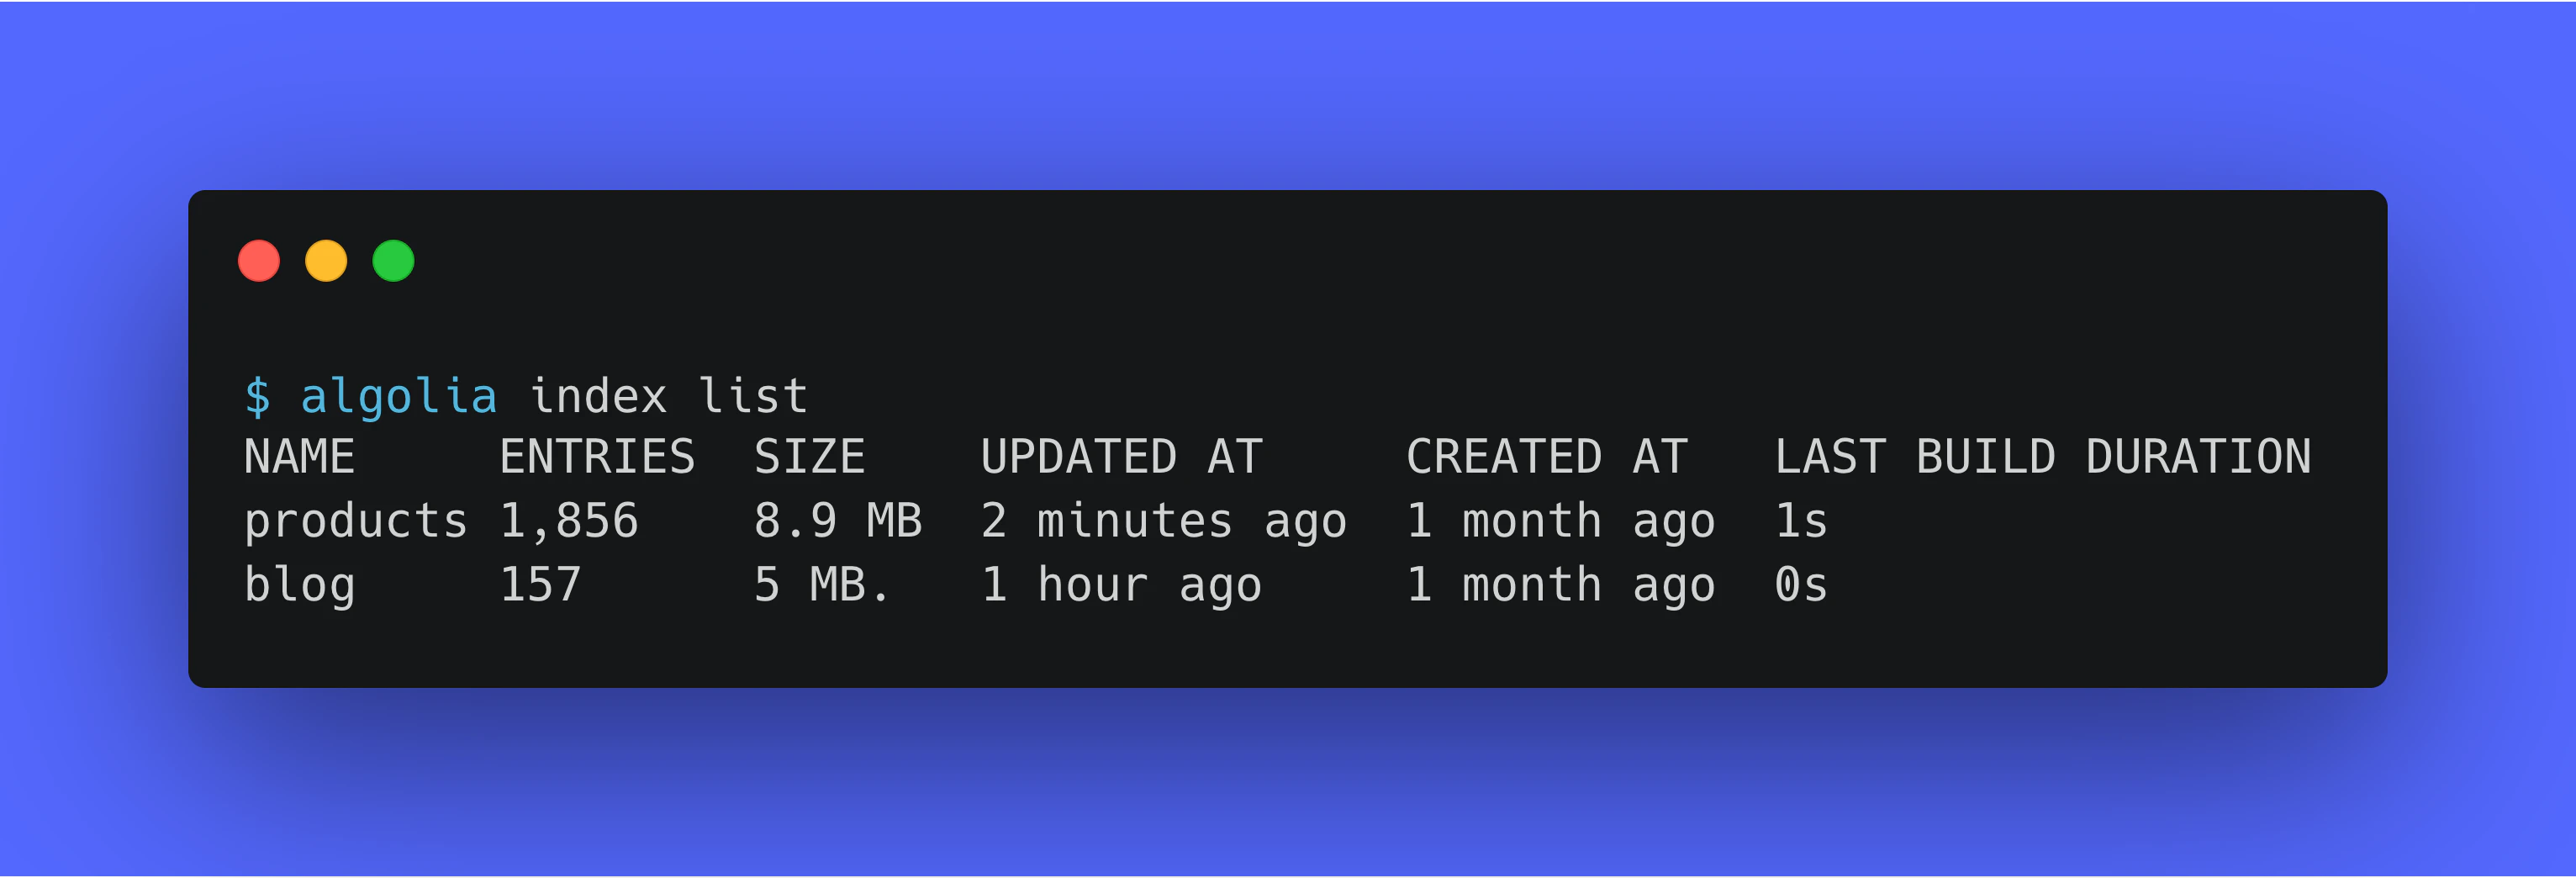
For example, to list all indices in your Algolia application, run:
If you’re running the CLI in a CI pipeline or script, or if you prefer to manage credentials yourself, use the
--application-id and --api-key options or environment variables instead of signing in.
For more information, see Authentication.Next steps
- Set up command completion. Enable shell completion for Bash, Zsh, Fish, or PowerShell.
- Authenticate CLI commands. Sign in with OAuth, or use environment variables and command-line flags for your credentials.
- Use the CLI in automation. Tips for running the CLI in scripts, CI, and agent workflows with structured output, exit codes, and dry runs.
- Opt out of telemetry collection. Learn what the CLI reports and how to turn off telemetry and update checks.
- Usage examples for the Algolia CLI. Follow recipes for importing, exporting, comparing, and copying Algolia data.